Building a Chatbot with Botpress
Create a New Chatbot
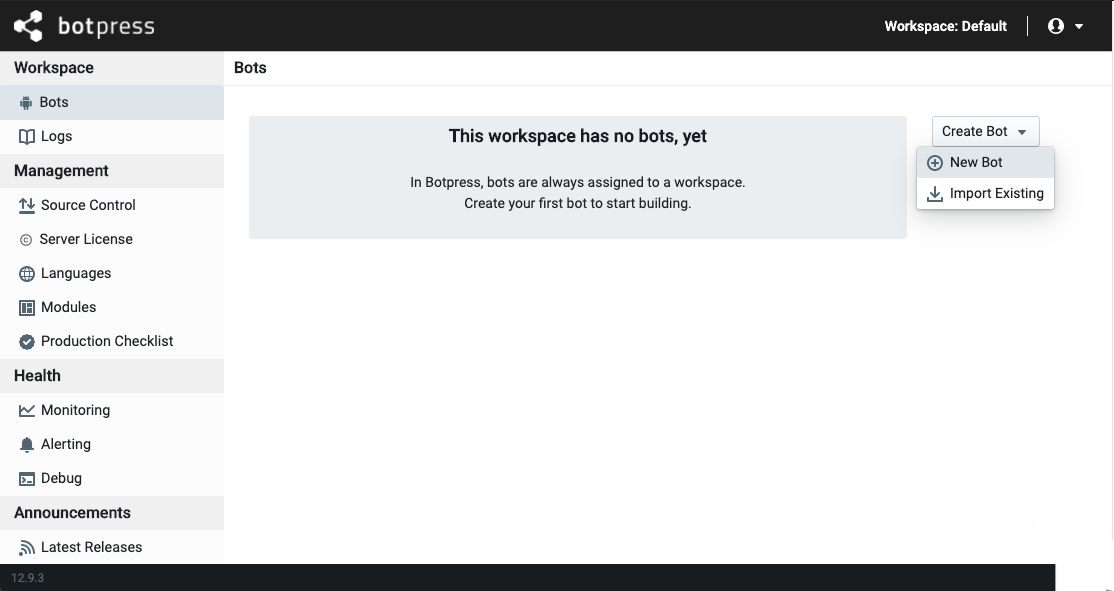
In Botpress, each different chatbot belongs to a workspace. When you start Botpress for the first time, you'll have a default workspace created automatically for you.
Let's create a new chatbot with the Create bot> New Bot button.
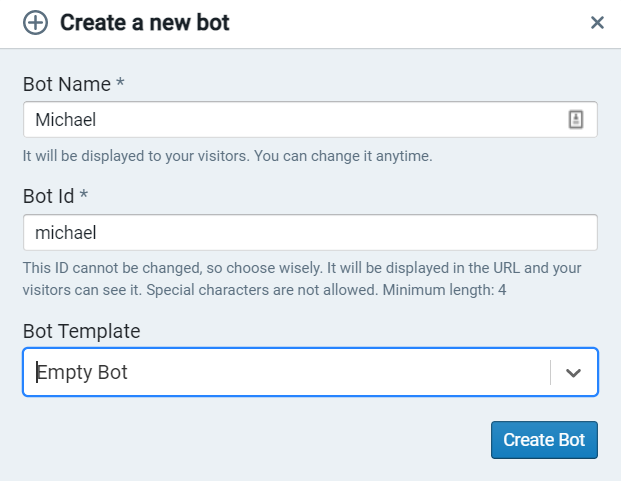
All you have to do is pick a name for your chatbot (a unique Bot ID will be generated for you), then select a chatbot template.
note
The Bot ID can't be changed in the future, so it's crucial to pick a meaningful name. Also, bear in mind that this ID will be visible to the users of your chatbot.
You may start from scratch with the "Empty Bot," or you can use one of the available templates for a quick demonstration of various features.
Once created, click on the chatbot's name to open the Studio interface and edit your chatbot.
Test your Chatbot
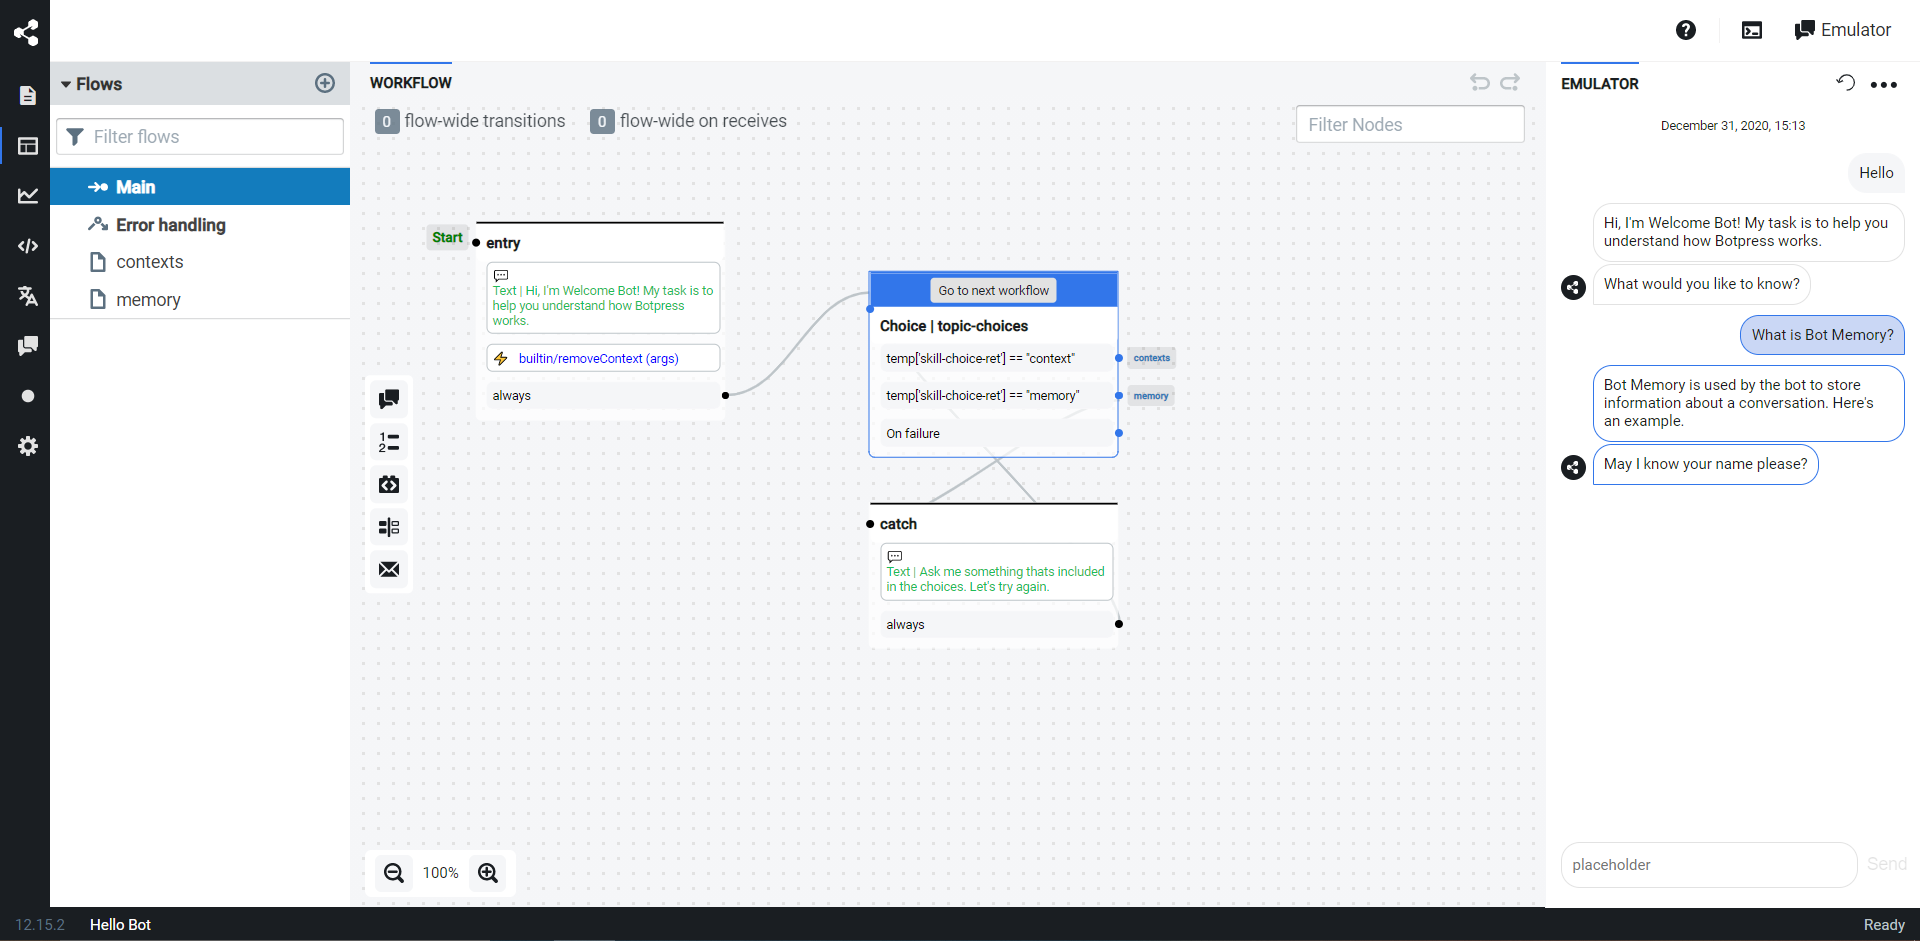
There is a chat emulator built in the studio with which you can test your chatbot. You can open it from the Emulatorbutton in the top right corner or press 'ctrl + E' while in the studio.
The chat emulator represents what your visitors will face when they speak with your chatbot. You can reset the conversation by clicking the reset button or you can start a new conversation with the conversations button.
- Reset Conversation: Brings you back at the beginning of the conversation flow, but keeps the variables previously stored.
- Create New Conversation: Brings you back at the beginning of the conversation flow and clean the variables stored.
![]()
In the order presented: Debug, Reset, Download, Conversations, Close emulator.
Open the chat window and say, "Hello." If you selected the Welcome Bot template, it should greet you with something like "Hi, I'm Welcome Bot! My task is to help you understand how Botpress works.".
You can get additional information from the emulator's debugger by selecting the debug button. This panel is specifically designed for you, as the chatbot developer, to understand why you get a specific answer. Note that it is only available for authenticated users. It includes all sorts of useful information: the dialog engine's elected suggestion, nodes flowed through, and natural language intents or questions. You can also view the raw JSON event that contains all details if you need further data.

Question and Answer
One of the modules shipped by default with Botpress is the Q&A (Question and Answer) module. This module allows you to easily and quickly add knowledge to your chatbot without creating a flow or writing code. Q&A uses the NLU engine to detect the questions and automatically answer them.
Adding a Q&A
- Click the Q&A panel on the left.
- Click the "Add New" button.
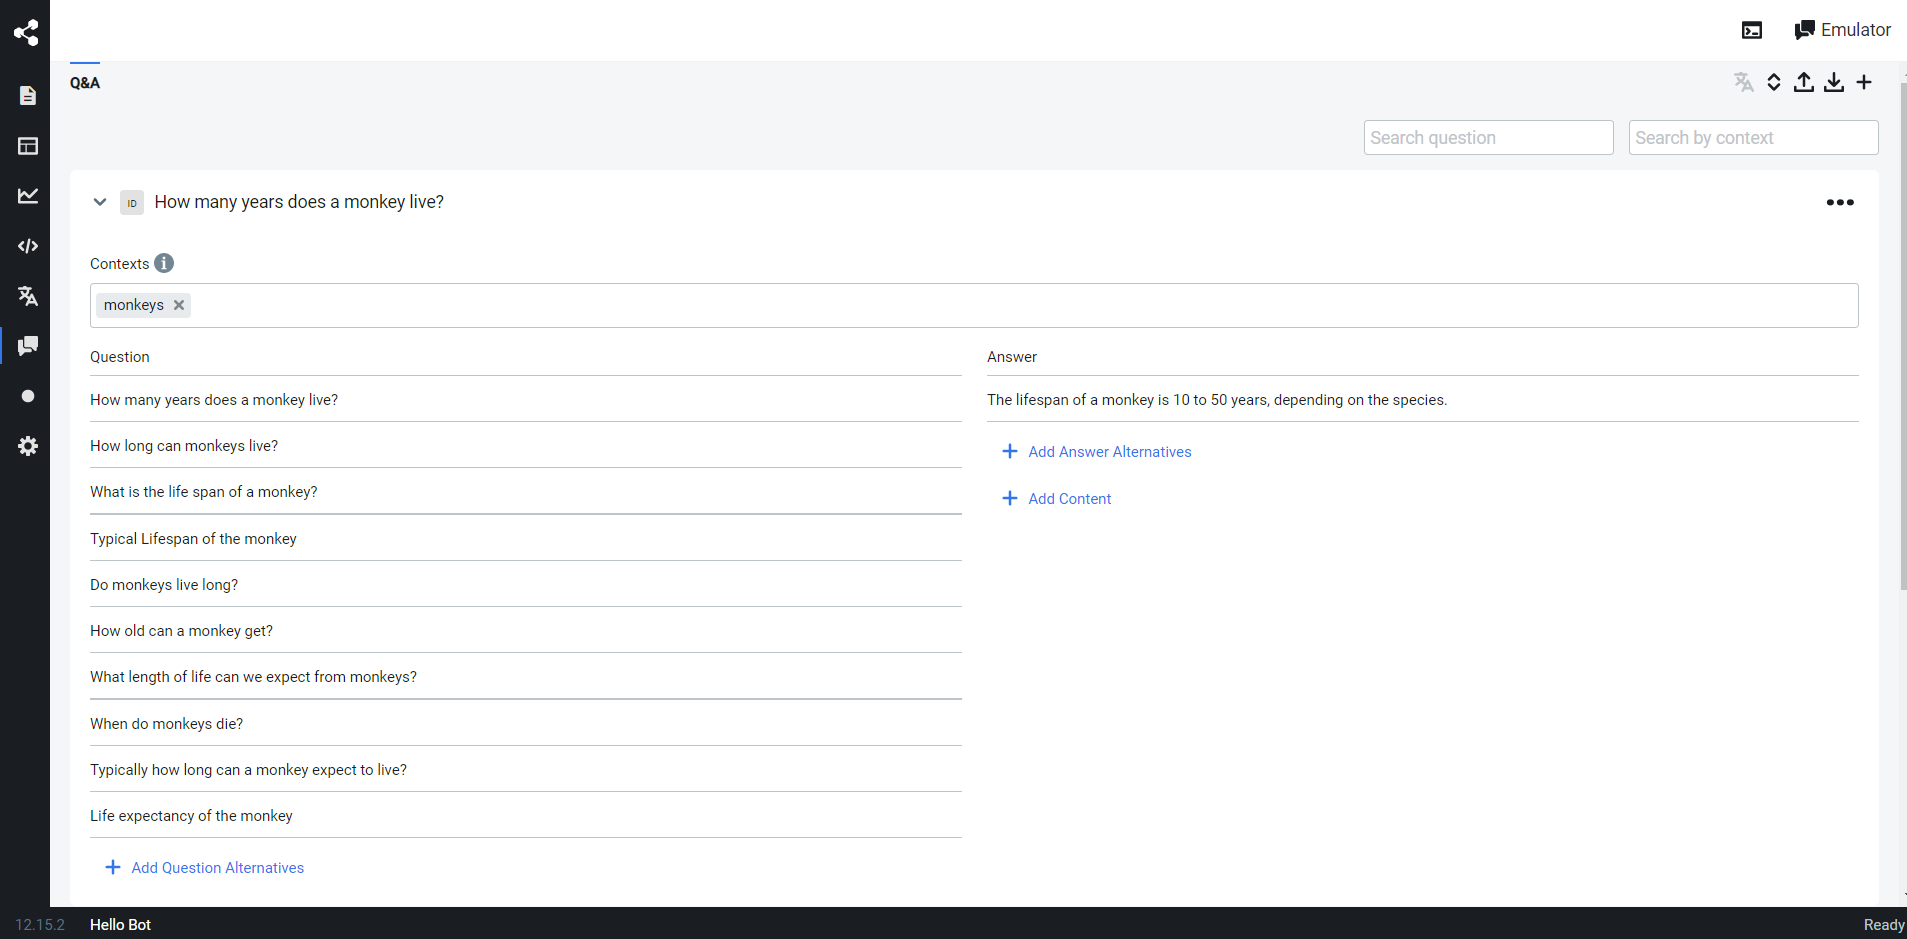
- Type in the "Questions" textbox any question, for example: "How old are you?". Then add as many different ways of asking the same question as you want.
- In the "Answers" section, type the message you want your chatbot to provide, then press Enter to commit the answer.
- Click "Add."
The Q&A module will automatically retrain the NLU model in the background and tell you when it's completed, indicated in the bottom right. You can speak again with your chatbot, and it should respond to your question correctly, even if you make some typos!
Q&A Example
Share your Chatbot
Standalone Chat
Congratulations on building your first chatbot! You can share this chatbot with your friends, provided they have access to your computer. It is available at http://localhost:3000/s/<<Bot ID>>.
Website Embedding
You can also embed this chatbot on a website. To learn how, check out the example provided in assets/modules/channel-web/examples/embedded-webchat.html, which you can see by browsing here.
Learn More
Follow along as we create a simple starter bot that asks for your name and politely greets you.